Foreground can be such an important aspect to certain pictures. The foreground of a picture helps set the mood you want the image to portray, adds depth to the picture, and is very interesting to look at, if used correctly. When looking at a picture, the foreground should help lead your eyes up to the rest of the photo.
 Around this time of year is the perfect time to test out using foreground to your advantage. With all the snow melting leaving large puddles behind, there is so many good opportunities to try this photography skill out. Puddles are great to use in foreground because it may capture the reflection of whatever your subject is, which can make for a very interesting photo.
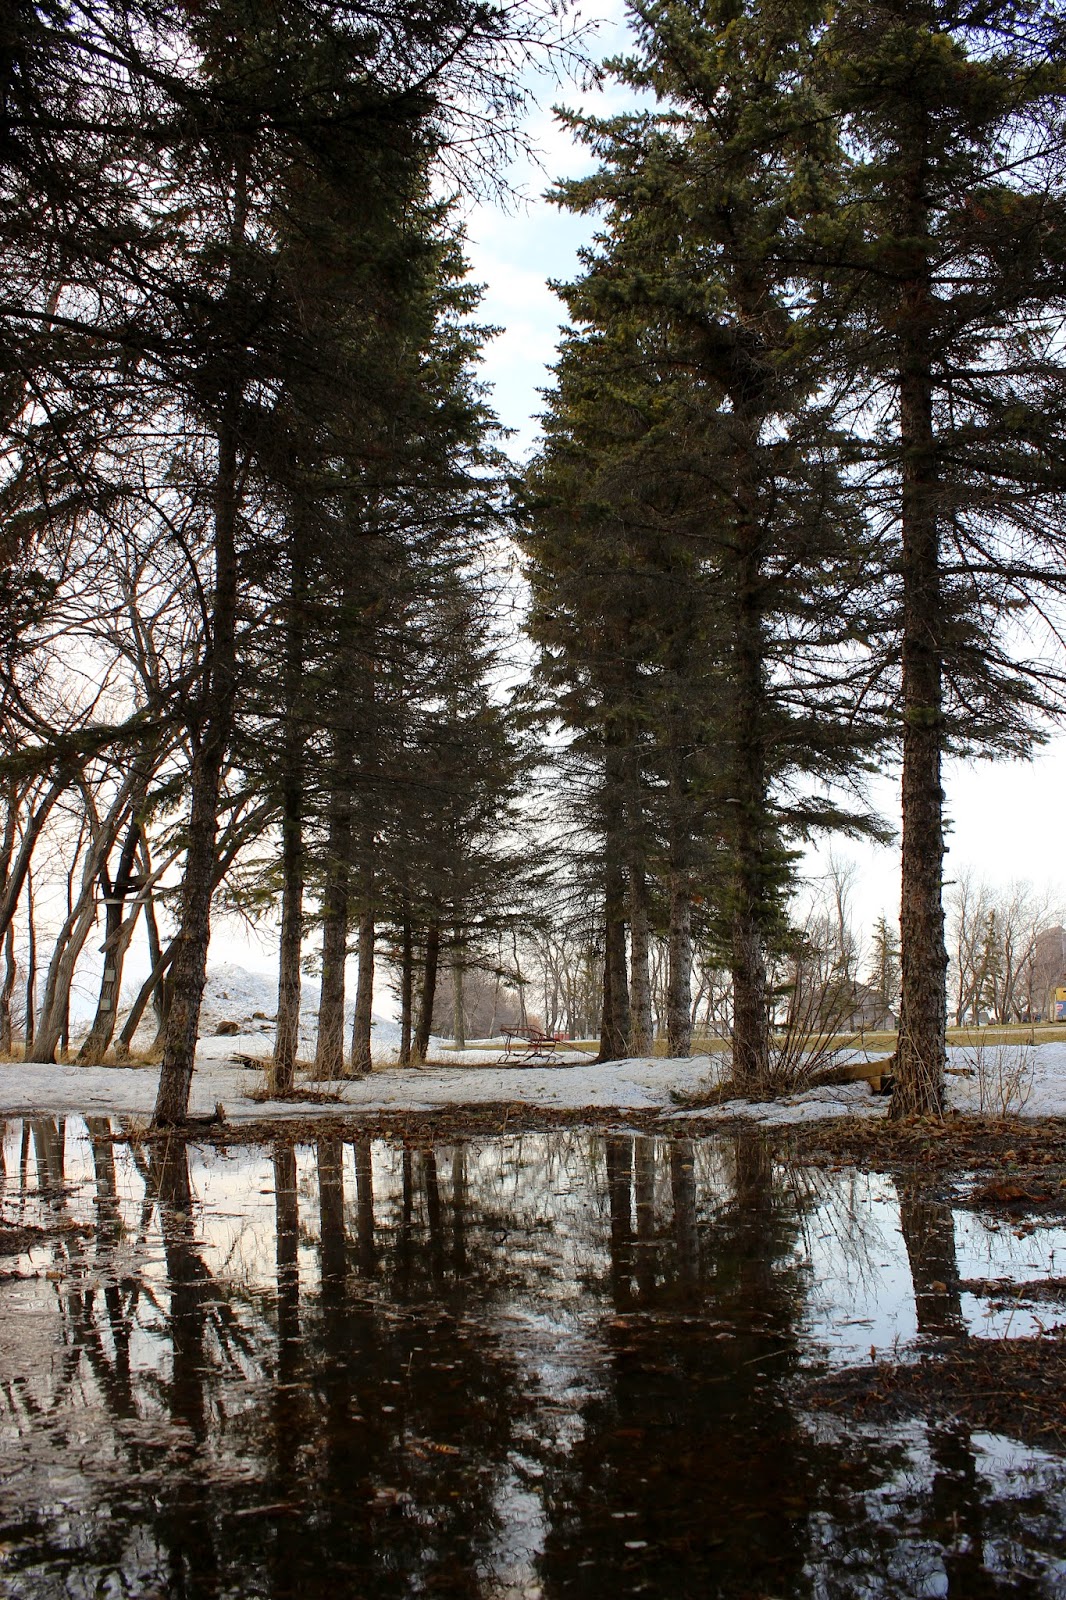
Here is an example of a picture I took using this clever photography skill. You can see the reflection of the trees in the foreground, and it actually adds more depth to the image. The darkness and contrast of the photo gives off a dreary mood, and the stillness of the puddle makes the environment seem very calm and hushed.
 |
Using the foreground to your advantage is an excellent way to capture a great image. I am excited to use this skill more in other pictures I take in the future!
Click the link below to read more about using foreground in your pictures!
The Importance of Foreground

